No one likes to be wasteful. There’s just something so icky about tossing a plastic cup in the trash, right? Thinking about it sitting in a landfill under heaps of rubbish for 450 years … yuck.
We feel that way too, and that’s why we’re doing our part to take care of Mother Nature.
Our Commitment to Sustainability
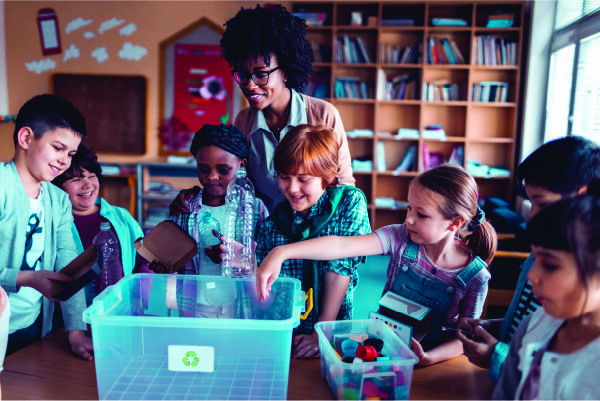
Here at Isagenix, we believe it’s important to take care of both your body and the planet. That’s why we made a commitment to be Green Today for Tomorrow®.
Part of that commitment is taking steps to reach our goal of zero waste packaging by 2028. In other words, we want all our packaging to be made of recyclable, reusable, compostable, or recycled materials so we can help limit the amount of unnecessary waste in our world.
Our PCR Plastic Canisters
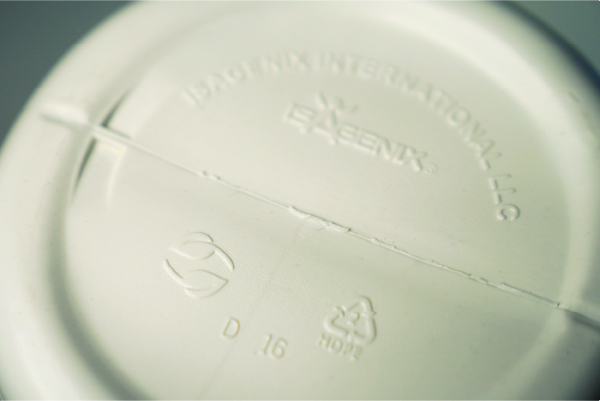
As you can imagine, we have to strike a delicate balance between producing safe, long-lasting products and being kind to the Earth. One of our solutions is using post-consumer recycled plastic for our IsaLean® Shake canisters. PCR plastic is recycled from other plastic materials, lowering the amount of trash in landfills and reducing our company’s overall carbon footprint.
So, once you’ve enjoyed a filling shake, what should you do with that pesky plastic container? Some arts and crafts, of course! We’ve come up with three fun ideas for reusing your old plastic containers.
3 Crafts You Can Make With Upcycled Plastic Containers
Cookie Jars & Food Storage

This one is super easy y’all. Our containers are already made to keep your shakes fresh, which means you can also upcycle them as cookie jars or food storage containers for cereal, sugar, flour — you name it!
Just wash out the inside of your canister with some dish soap and water. Then, dry the container and fill it with whatever dry ingredients or nonperishables you desire. Of course, expiration dates still apply, so make sure to keep an eye on your foods for signs of spoilage.
Need ideas on how to decorate your new fave containers? Use some spray paint and marker/nail polish for a sophisticated look. Or for a cookie jar, make it a funky craft for the whole family. Time to break out the paint and googly eyes!
Can’t keep your hands out of the recycled cookie jar? Why not restock on some Cookies and Cream Whole Blend IsaLean Shake?
Mini Compost Bins
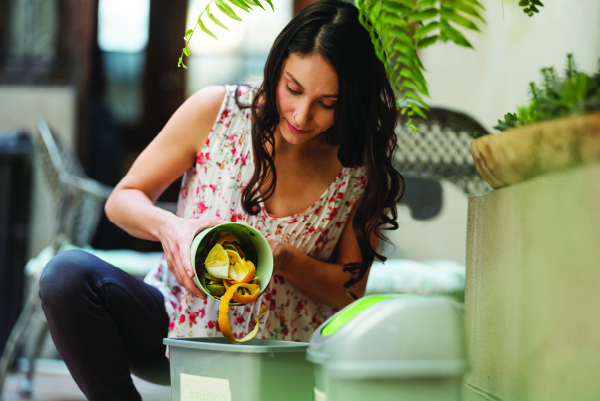
Composting is a wonderful way to reduce methane emissions by decreasing the amount of food waste that goes to landfills. It’s also a great way to make your own free plant fertilizer. And it’s always nice to minimize nasty kitchen trash smells!
A few notes about composting:
- You need air circulation for aerobic composting. Drill holes in your compost bin, and mix the contents every so often with a hand shovel or garden trowel to allow oxygen inside.
- Don’t add oily foods, meat, or dairy to your mini compost bin. Stick to fruits, veggies, herbs, eggshells, coffee grounds, and tea leaves.
- Include a mix of “browns” and “greens” in your bin. Browns are carbon-based materials like leaves, newspaper, cardboard, napkins, paper towels, coffee filters, and sawdust. These interact with the nitrogen in your food waste (aka greens) for better composting.
- Use dirt and leaves from the local environment to introduce native microbes to your compost.
DIY Mini Compost Bin Instructions
For this craft, you’ll need a drill. If you’d like to keep your mini compost bin indoors, you’ll also need a charcoal filter (to absorb smells) or nylon screen (to keep pests away), scissors, and a hot glue gun.
Indoor Mini Compost Bin
- Drill some holes in the lid of your canister.
- Cut your nylon screen or charcoal filter to the size of your lid.
- Hot glue the nylon screen or charcoal filter inside the lid.
- Fill the bottom of your bin with dirt and browns.
- Add your food waste.
- Replace the lid.
- Place your indoor compost bin in an inconspicuous place, like under the sink.
- Let nature do its thing!
- Empty the contents into your outdoor compost bin when ready.
Outdoor Mini Compost Bin
- Drill some holes in the lid and bottom of your plastic canister.
- Fill the bottom of your compost bin with dirt and browns.
- Add your food waste.
- Water the material in your compost bin if necessary.
- Replace the lid.
- Place the bin in your garden to allow the nutrients to drain from the bottom and nourish your plants.
Planters & Flower Pots
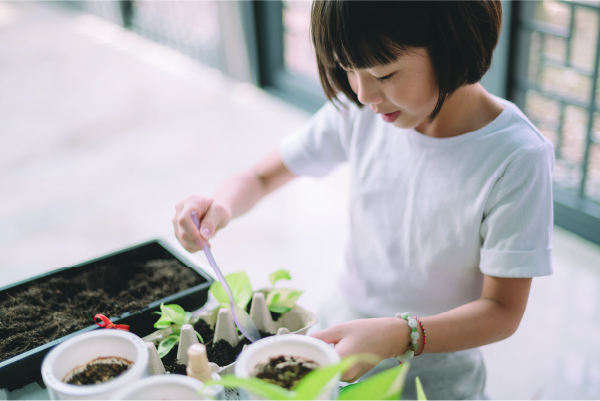
Now that you’ve made some fertilizer, you’ll need a plant to fertilize. And guess what? You can use a plastic canister to make your own planter or flower pot!
The steps:
- Remove the canister lid.
- (Optional) Drill some holes in the bottom of your canister to allow water to pass through.
- (Optional) Upcycle a larger lid or plastic container to catch any water that drains from your canister.
- Decorate your canister however you like to match your decor.
Decoration ideas include acrylic paint, spray paint, nail polish, rope or twine, metallic markers, construction paper, decoupage paper, and buttons. Get some inspo from these sleek, classy DIY planters or this cute flower pot decorated with dollar-store materials. Let your imagination run wild!